Gaining the ability to nurture and care for houseplants has become a noteworthy interest amongst young adults in recent times. Among these skills, re-potting stands out as both essential and intricate. This practice requires a good understanding of the plant’s health, thoughtfully selecting new homes for your houseplants, and mastering the process of moving them. Initially, one must recognise what a thriving plant looks like, familiarising oneself with the signs of a healthy root system versus a root-bound or overly moist one. Identifying the correct moment for re-potting is equally vital. Moving to select an ideal pot, it’s essential to deliberate on the various options – each with their unique set of advantages and disadvantages. Considering factors such as the plant’s current size, the pace of its growth, and its unique requirements are pivotal in this process. Lastly, the actual task of re-potting, which may seem daunting, but with a structured approach and a thorough understanding of elements like the perfect soil composition, watering techniques and location settings, it becomes quite manageable.
Understanding Plant Health
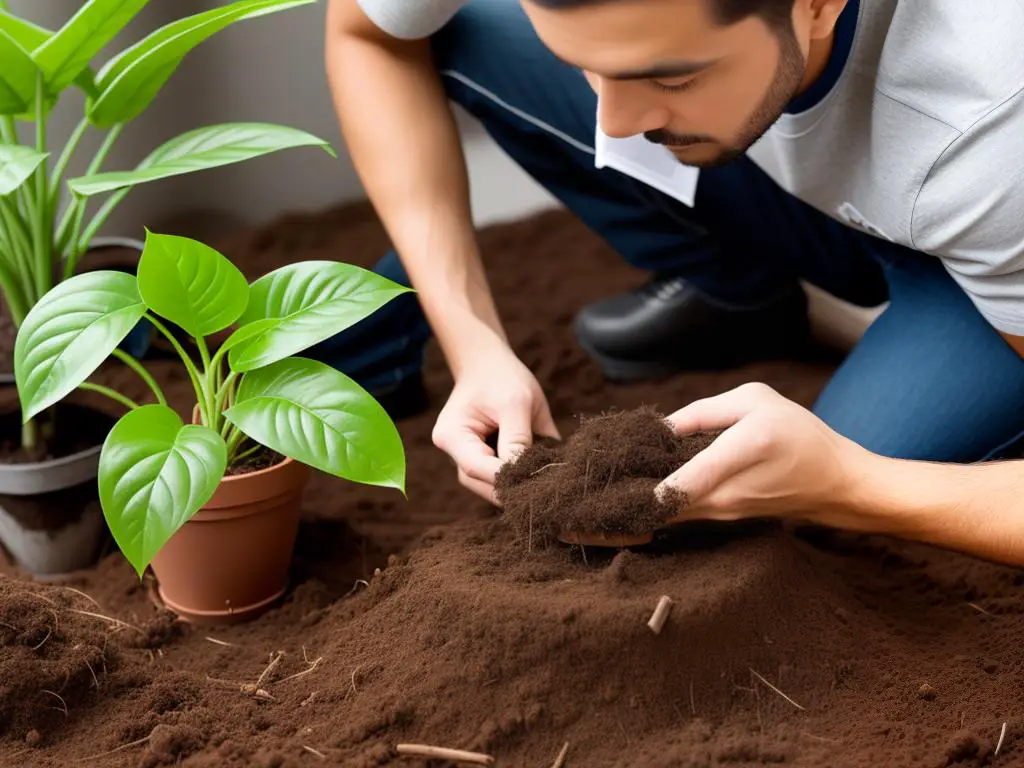
Before embarking on the vital task of re-potting your houseplants, it’s essential to familiarise oneself with the indicators of plant health or lack thereof. As a young adult venturing into botany, understanding the conditions of an optimal root system, identifying root-bound or over-watered plants, and recognising the opportune moment to re-pot can go a long way in ensuring the flourishing and longevity of your houseplants.
The root system of your plant serves as the backbone of its health and vitality. In most houseplants, a thriving root system is firm and cream-coloured. A few brown roots are common and not a cause for concern, but if the majority are soft to touch, squishy, and have a foul odour – it’s an indicator that your plant may be suffering from root rot. Generally, root rot occurs due to over-watering and poor drainage. At such times, it’s advisable to gently remove the plant from its pot, examine the roots, and trim off any unhealthy roots before re-potting.
A root-bound plant is one whose growth is restricted due to overcrowded roots. Over time, as the plant grows, the roots can become tangled and matted, filling the entire pot and leaving little space for water and nutrients to penetrate. If it’s a struggle to remove the plant from its pot or if you see more roots than soil, your plant may well be root-bound. Additional signs include stunted growth, yellowing leaves, and the plant becoming top-heavy. When noticed early, re-potting can successfully relieve and rectify your plant’s root-bound situation.
An over-watered plant is one that has received more water than it can handle, leading to waterlogged soil and, consequently, root rot. Signs of an over-watered plant include yellowing leaves, wilting despite the soil being wet, and a sudden drop of leaves. Understanding how much water your specific plant species requires and ensuring good drainage can prevent over-watering dilemmas.
Knowing when it’s the right time to re-pot can hugely influence your plant’s health. In general, late winter or early spring, just before the plant enters its growth phase, is the perfect time to re-pot. Watch out for signs like the plant becoming root-bound, a waterfall of roots emerging from the drainage hole, a slowdown in growth, and the plant drying out quicker than usual. It’s not uncommon for a plant to require re-potting every 12-18 months, though, this depends on the species.
As you venture further into understanding the enchanting world of botany, it’s equally important to remember the subtle language of plants. Interpreting their signs correctly can make your plant-rearing journey a deeply satisfying, rewarding adventure.
Choosing the Right Pot
Embarking on the Journey: Choosing the Perfect Pot for Your Plant
Propelling oneself into the world of houseplants often involves a maze of decisions. One element that typically usurps a considerable amount of thought – the right pot.
Exploration: Understanding the Types of Pots
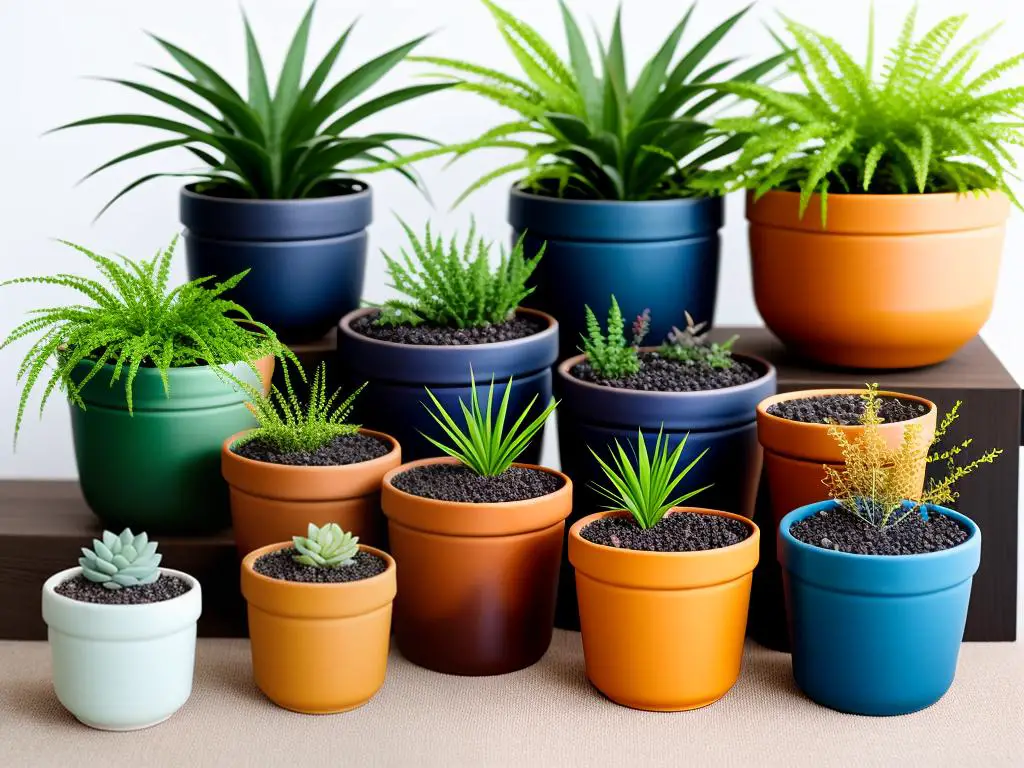
Broadly speaking, pots fall into two categories: plastic and ceramic.
Plastic pots may not be the immediate preference due aesthetic inclinations, but their practical benefits are undeniable. Plastic pots are lightweight, easy to manoeuvre and less likely to break. They’re ideal if your plant is on the heavier side or if you frequently move your plants around.
Ceramic pots, on the other hand, offer a depth of character that can enhance the aesthetic appeal of your planter. They are typically more robust and have the advantage of being more stable – they’re less likely to tip over.
The downside is their weight can make them challenging to move. Ceramic pots can also be porous, depending on the glaze applied, which can help with soil aeration, but also calls for more frequent watering.
Essentials: Choosing the Right Size and Material
Once familiar with the types of pots available, you need to consider size. Fundamentally, your pot should be bigger than the root ball of your plant but not excessively large. The rule of thumb when up-sizing is to choose a pot that is 2-5 cm larger in diameter than the current one.
The material you choose is important, too. Some plants prefer their soil to dry out completely between waters, such as succulents or cacti, making a porous ceramic pot a prime choice. On the other hand, plants that enjoy a little more humidity may lean towards a non-porous plastic pot.
Manifestation: Considering Plant Growth and Specific Needs
Each plant, much like people, has its unique quirks and needs. Factor in your plant’s growth rate for future planning. Fast-growing plants may require more frequent re-potting, making a lightweight plastic pot desirable. Slow-growers will be happier in a sturdier ceramic pot that can withstand long-term habitation.
Some houseplants, like orchids, prefer clear plastic pots as their roots thrive on the extra light exposure. Others, such as ferns, prefer non-transparent containers to keep their roots in the dark.
Remember, selecting a pot is a delicate blend of considering the plant’s growth, watering needs and root habits, and coupling these with a pot’s functional advantages and aesthetic appeal.
Ultimately, the joy in this journey lies in getting to know your plant and providing it with a home that fits its character and needs.
The Re-potting Process
The Re-potting Process
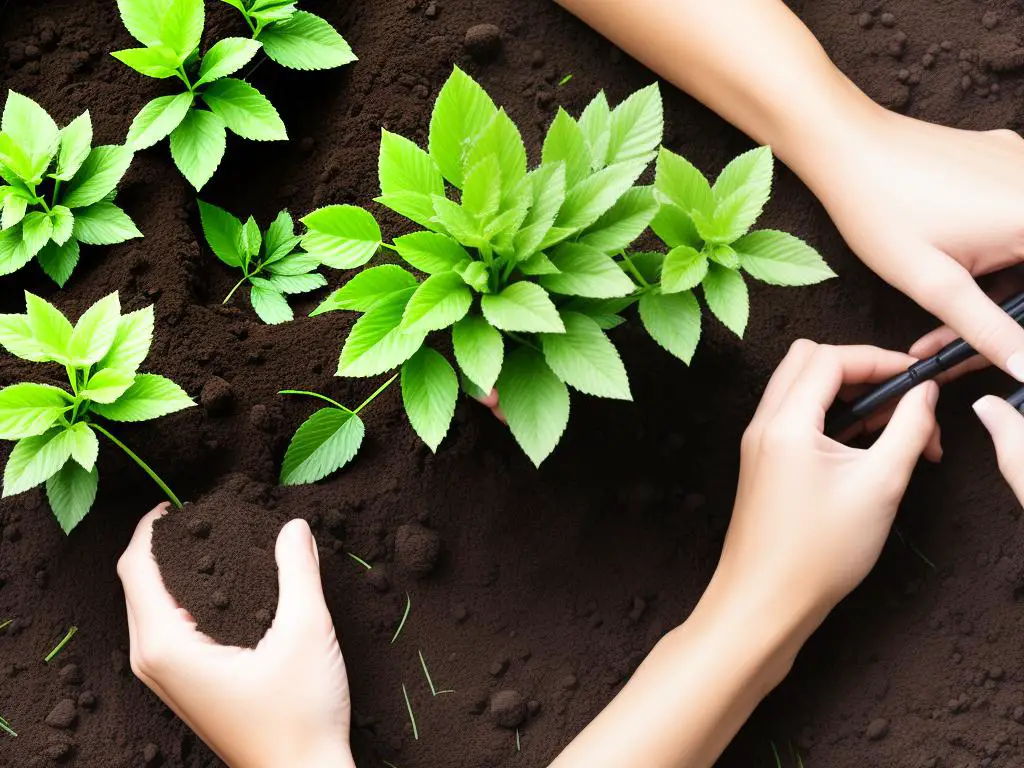
The prospect of re-potting your houseplants might seem daunting, especially if you’re a novice gardener. Fear not, however. The process is simpler than it appears at first glance. As soon as you learn the basics, you’ll be re-potting with confidence. Below are clear and concise steps to guide you through the process, from removing the plant to aftercare.
Preparing the Re-potting Materials
Before you begin, ensure that all necessary items are within arm’s length. You’ll need a new pot – one which is about an inch or two larger in diameter than your plant’s current pot. Other essentials include fresh potting soil, a watering can, a clean cloth and a pair of gardening gloves to protect your hands. Now you’re ready to embrace your new role as a gardener.
Removing the Plant from the Old Pot
Begin by gently tipping the pot on its side, taking hold of the stem at the base, and apply a gentle, upward tug. If the plant refuses to budge, try rolling the pot along a hard surface while applying downward pressure. This can help to loosen any stubborn roots. Be cautious not to tug too hard; you don’t want to damage the roots.
Inspecting the Root Ball
Once the plant is out, take a moment to examine the root ball. If it’s a wiry, tangled mess, or if the roots appear rotted and unhealthy, it’s time for a bit of horticultural surgery. Use a sterilised knife to remove the unhealthy areas and untangle the roots.
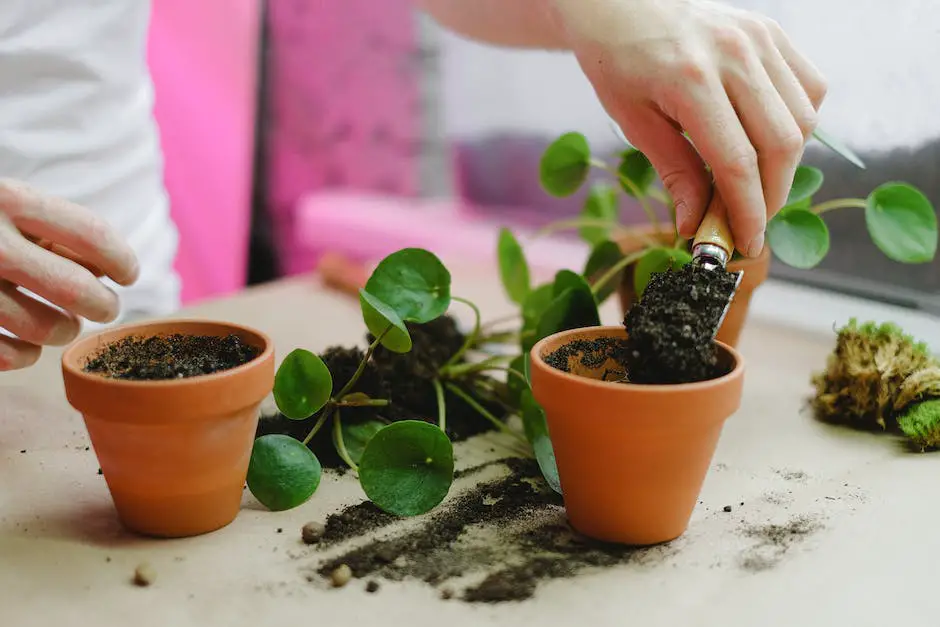
Preparation of the New Pot
Next, prepare the new pot. Ensure it has sufficient drainage holes. Spread a layer of fresh potting soil at the bottom. The composition of your soil can vary greatly depending on the type of plant, but most houseplants appreciate a well-draining, organic-rich mix.
Situating the Plant in the New Pot
Place your plant gently in the new pot. The top of its root ball should sit 1 inch below the rim of the pot. Afterwards, fill the pot with your freshly prepared soil. Pat it down gently but don’t compress it — remember, roots need oxygen too!
Watering After Re-potting
Once your plant is comfortably situated in its new home, it’s time to water it. Water thoroughly until the liquid seeps out from the bottom. This will settle the soil around the roots.
Location Settings and Aftercare
Decide on a location for your recently re-potted plant. A place with indirect sunlight is often a safe bet for many houseplants. Keep an eye on your verdant charge in the days and weeks following the re-potting. Ensure it’s neither overwatered nor underwatered and keep a watch for any signs of stress.
Congratulations: You’re a Gardener Now!
And there you have it; your guide to re-potting houseplants. With these instructions at your disposal, you’re well on your way to becoming an expert indoor gardener. Happy gardening!
Even for a green thumb, re-potting houseplants can be daunting. Patience, careful observation, and diligent care are requirements for success in this task. By understanding the intricacies of plant health, making informed choices about pots, and following best practices in the re-potting process, you can ensure your houseplants are perfectly suited to their new homes. As with any learning curve, the road might have some bumps and surprises. Yet, the satisfaction that comes with witnessing your houseplants flourish in their carefully selected pots, makes this a rewarding learning journey. An endeavour worth taking, for nature’s wellbeing and your personal enrichment.