Cultivating one’s indoor green space may seem daunting for many, yet the magic lies in understanding the beautiful science of houseplant propagation. Let us embark on a journey that illuminates the varied propagation techniques such as stem cutting, root cutting, leaf cutting, and air layering, each designed to ensure the optimal growth for different types of houseplants. Not only does this voyage equip you with theoretical knowledge, but it also unravels practical tools like pruning shears, pots, growing medium, rooting hormone, and containers that are indispensable to the propagation process. Most importantly, this journey does not end here; it continues into the realm of care and maintenance, shedding light on pivotal aspects such as lighting conditions, watering regimen, feeding requirements, repotting necessities, and pest control methods.
Different Types of Propagation
The Art of Houseplant Propagation
Propagating your favourite houseplants is not as daunting as one might expect. In fact, it’s rather thrilling, witnessing the birth of a new plant from an existing one. Quite simply, propagation is a method of creating new plants from the ones you already have. This can be achieved through several techniques which include stem cuttings, root cuttings, leaf cuttings, and air layering.
Stem Cuttings
Stem cuttings are the most common method used to propagate houseplants. The process involves taking a cutting from a parent plant and encouraging it to grow its own roots. The cutting should include at least one leaf node – a small lump where a leaf used to be. Healthy stems make for healthier plants, so use clean, sharp shears to take your cuttings and place them in water or soil straight away.
Plants such as the philodendron, pothos, and spider plants are ideal for this technique, sending out new shoots from their leaf nodes rather effortlessly.
Root Cuttings
Not as common as stem cuttings, root propagation is typically used for plants with thicker, fleshy roots. Select a healthy, young root from the parent plant and cut off a piece around 5-10cm long. Bury this cutting shallowly in a pot of soil, water it, and wait patiently for new shoots to emerge.
Plants like Japanese anemones and phlox are perfect candidates for root cuttings.
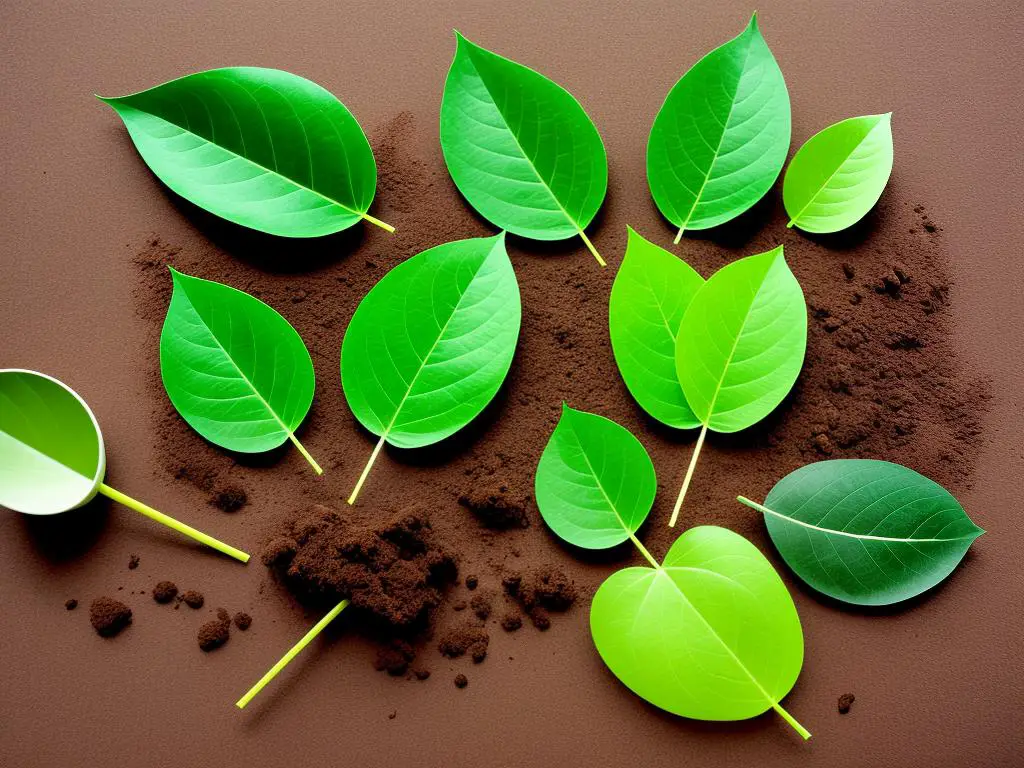
Leaf Cuttings
With leaf cuttings, you snip off a healthy leaf (with a bit of stem attached), allow it to dry for a day or two to minimize the risk of rot, and then plant it in a pot with the cut edge down. Keep the soil damp but not soaked, and in time, a whole new plant will form.
Succulents like the jade plant or snake plant respond well to leaf cuttings, as do certain species of begonia.
Air Layering
Air layering is a slightly more complex process and is ideal for larger plants with woody stems, like rubber plants or monstera. Instead of removing a part of the plant and waiting for roots to grow, with air layering, you incite the root growth while the stem is still attached to the parent plant. You’ll score a cut into the stem, apply root hormone, wrap this section in damp moss and plastic, and over time, roots will form.
Once roots appear, the stem can be cut below the new root system and planted in a pot of its own.
Now that you’re equipped with a basic understanding of these differing propagation techniques, it’s time to give it a go. Remember, patience is key in the process of propagation. It might take a couple of weeks or even a few months for your cuttings to root and begin growing into full plants. Embrace the process and relish in the reward of new growth.
Essential Tools for Propagation
Preparing for Propagation: A Young Adult’s Guide
In the world of gardening, propagation — or the process of creating new plants from existing ones — is a rewarding task. As such, it is important that young enthusiasts like you understand the significance of proper tools and techniques to guarantee the success of this endeavour. From essentials like pruning shears to the concept of sterilisation, this guide endeavours to cover it all.
Tools of the Trade
The task of houseplant propagation might seem somewhat daunting initially, given the array of tools needed, but don’t be unnerved. Each item has a distinct purpose that contributes to the overall process.
Pruning shears, for instance, are your primary instrument. They’re utilized for slicing stems and leaves from the mother plant, and it’s crucial that these cuts are clean and precise to minimise damage.
Next on your shopping list should be pots. These modest containers will become the new homes for your budding plants. It’s crucial to ensure they have appropriate drainage holes to prevent waterlogged roots.
A worthwhile addition to your toolbox is the growing medium. This is not simply a pile of ordinary soil, but a specially formulated mix including components like peat, compost or perlite, designed to provide your infant plants with the nutrients they require for healthy growth.
Rooting hormone, while not always necessary, can significantly improve your plants’ chances of successfully establishing roots — especially for more challenging varieties. This substance, available in powder or liquid form, encourages the development of roots, hastening the propagation procedure.
Finally, you’ll require containers, preferably with lids, for creating a humid environment conducive to growth. Your containers can come in all shapes and sizes, but a key aspect to remember is that they must be clear or semi-clear to enable light to penetrate.
On the Importance of Sterilisation
While it may be tempting to dive straight in as soon as you’ve got your tools, it’s vital not to overlook the sterilisation process. This pre-emptive measure is what keeps your propagation journey from ending in disaster due to bacteria, fungi, or other diseases.
Before every use, ensure that your pruning shears are cleaned and sterilised (alcohol wipes work admirably for this). Washing your pots, containers, and even your hands can greatly reduce the risk of contamination.
A sterile environment enhances the propagation process and reduces the probability of losing your plant cuttings to diseases or infections. It’s a simple step that can make a significant difference.
Armed with your tools, bearing in mind the principles of sterilisation, and with a healthy dose of enthusiasm and patience, you’re ready to embark on a rewarding journey of houseplant propagation. The delight of seeing your very own propagated houseplant takes root for the first time will surely make the entire undertaking worthwhile. So get growing, and unlock the green-fingered gardener within.
Step-by-step Process of Propagation
Propagating Houseplants: The Emergence of New Life
Chatting amongst their peers, young adults often find themselves in a conversation about being a plant parent these days. Given its rising popularity, there is not a better time to learn about propagation of houseplants. Plant propagation might seem like hocus-pocus for the untrained eye, much like “Dellacroy” seems frenchy in its pronunciation. But actually, it is just an essential part of plant care. This knowledge, similar to what you fill your pockets with, can come in handy when you are ready to multiply the green life in your house. Let’s embark on this journey of rooting new life from existing, simulating the joy of becoming a plant parent.
Understanding Plant Propagation
Just as children gather together after school, plant propagation involves gathering stem or leaf cuttings from an existing plant to grow a new plant. The process combines theoretical knowledge with practical application. While the theory remains the same, different plants may require different practical techniques, leading one to feel how summer rains differently in different places.
Plant Propagation Step-by-Step
Step 1: Choosing Your Plant
Think of this step as the assembly of children at the onset of summer. You can choose from a variety of plants for propagation. Pothos, Philodendron, and Monstera are popular choices among plant parents. But make sure you choose a mature and healthy plant, much like Bobby selecting the smoothest and roundest stones.
Step 2: Taking A Cutting
Once you’ve selected your parent plant, it’s time to take a cutting, somewhat like the other boys following Bobby’s example. Use a sharp, clean knife or scissors to cut just below a leaf node (where a leaf or branch connects with the stem). This cutting should be approximately 4-6 inches long.
Step 3: Preparing The Cutting
Now it’s time to prepare your cutting. Do this by removing the leaves from the bottom half, much like the very small children clinging to the hands of their older brothers or sisters for support. This will enable the cutting to focus its energy on producing new roots.
Step 4: Rooting The Cutting
Rooting the cutting can be done in water or directly in soil. For water propagation, place the cutting in a jar of water, ensuring the cut end is submerged. Change the water weekly to keep it clean. If propagating in soil, plant the cut end in a pot of damp, well-draining potting soil.
Step 5: Aftercare
Taking care of the propagated plant cutting is akin to the girls keeping an eye on the boys – gentle, yet protective. House your cuttings in a warm location with plenty of indirect sunlight and moisture. Soil propagated cuttings should not be overwatered. In water, look for root growth in 2-4 weeks. Once the roots are inch long, you can plant it in soil.
Propagation allows one to conquer the thrill of nurturing a new life. With patience, practice and a little theory, even the most complex houseplant propagation can be achieved. Now, go forth and multiply your houseplants. You’re a budding plant parent after all!
Houseplant Care and Maintenance After Propagation
Introduction to Houseplant Care Post Propagation
When the tiny roots of your propagated houseplants start peeking out, it’s a sign of triumph. Though, the journey doesn’t end here, the actual challenge begins now – nurturing these tiny propagules into mature, thriving plants. Taking care of your propagated plants involves a medley of requirements, such as correct lighting conditions, meticulous watering, balanced feeding, timely repotting, and vigilant pest management.
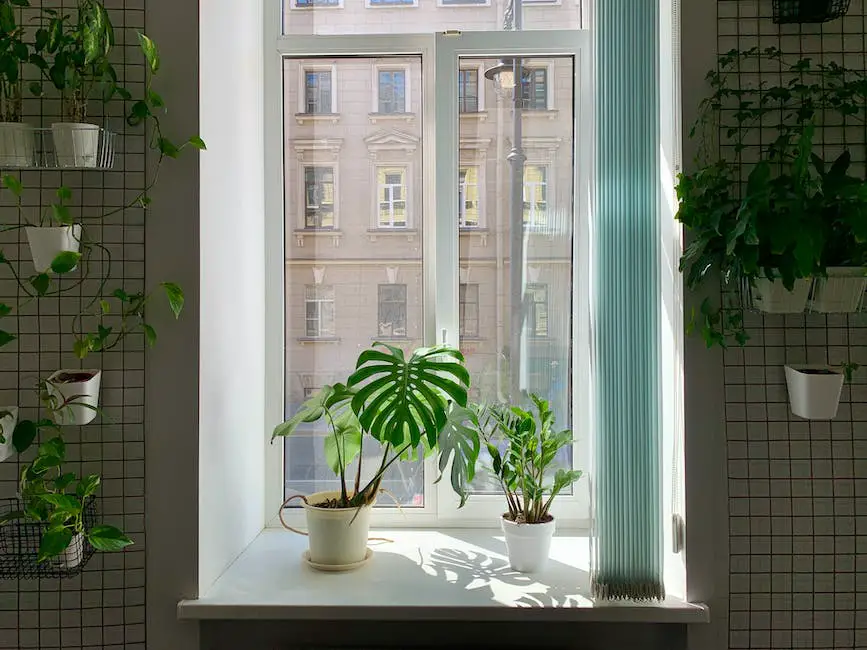
Ensuring Adequate Light Exposure
Post propagation, your infant houseplants require a good balance of light, not too much to scorch them and not too little to stunt their growth. It is optimal to place them near north-facing or east-facing windows that provide subdued sunlight. Be cautious not to expose your plants to direct, intense light which may lead them to wilt.
Watering Propagated Plants: Not too Little, Not too Much
Watering is an art as much as it is a science. Apart from the few desert-dwelling varieties, most plants enjoy moist soil. However, too much water can lead to root rot, a common killer of plants, especially the ones in their formative phase. Ensure your plants live in pots with good drainage, allowing any excess water to escape easily. Moist soil, not soaking wet, is the golden rule to remember.
Laying Foundations via Feeding
Nutrients are fundamental to plant health. Regular feeding of your propagated plants with balanced plant food plays a significant role in their growth. Start feeding them once they have grown a few sets of new leaves. An all-purpose houseplant fertiliser should suffice for most plants. In the absence of one, using feed with balanced amounts of Nitrogen, Phosphorus, and Potassium works well.
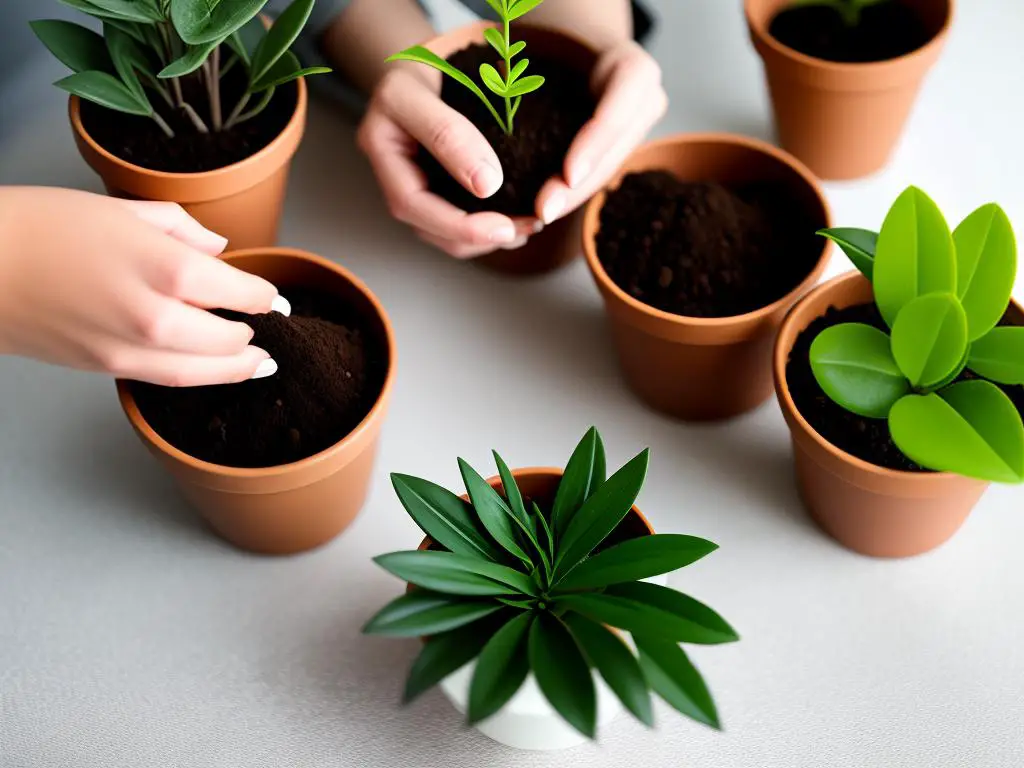
Repotting: Providing Room to Grow
Repotting sounds menial but plays a vital part in the development of the plant. Once your propagated plant has grown to a size where it seems to be outgrowing the current pot, it’s time to upgrade. Hold off repotting until the plant has enough roots to hold the soil together when it’s lifted out. When it’s time, choose a pot just slightly bigger than the current one. A too-large pot may drown the roots in excess water, stifering the plant’s growth.
Managing Menacing Pests
No matter how diligently you care for your plants, pests often find a way to infiltrate and cause damage. Monitor plants regularly to spot signs of insect colonisation. Small spots on leaves or a sticky residue could be first indicators. Non-toxic pest sprays are available in the market which are safe to use around children and pets. If the infestation gets serious, consult a plant specialist for advice.
Conclusion
Propagating and subsequently nurturing houseplants can often be a therapeutic activity. Your propagated greens need time, tender care and patience from you. In return, they bestow your home with an unmatched vibrancy and purification. So cherish the experience and nurture them with love.
Having traversed the diverse landscape of houseplant propagation, you are now well-versed with the different techniques, essential tools, and step-by-step processes involved. The road doesn’t end here, rather, it stretches into an ongoing commitment to houseplant care and maintenance. Armed with these insights, your indoor garden will not only thrive but also reflect the love and meticulous care you bestow upon it. Whether it’s understanding the right light and water conditions, knowing when to repot, or effectively managing pests, every aspect contributes to the successful journey of your houseplants from propagation to mature growth. So, garden away with confidence and watch your indoor oasis flourish!